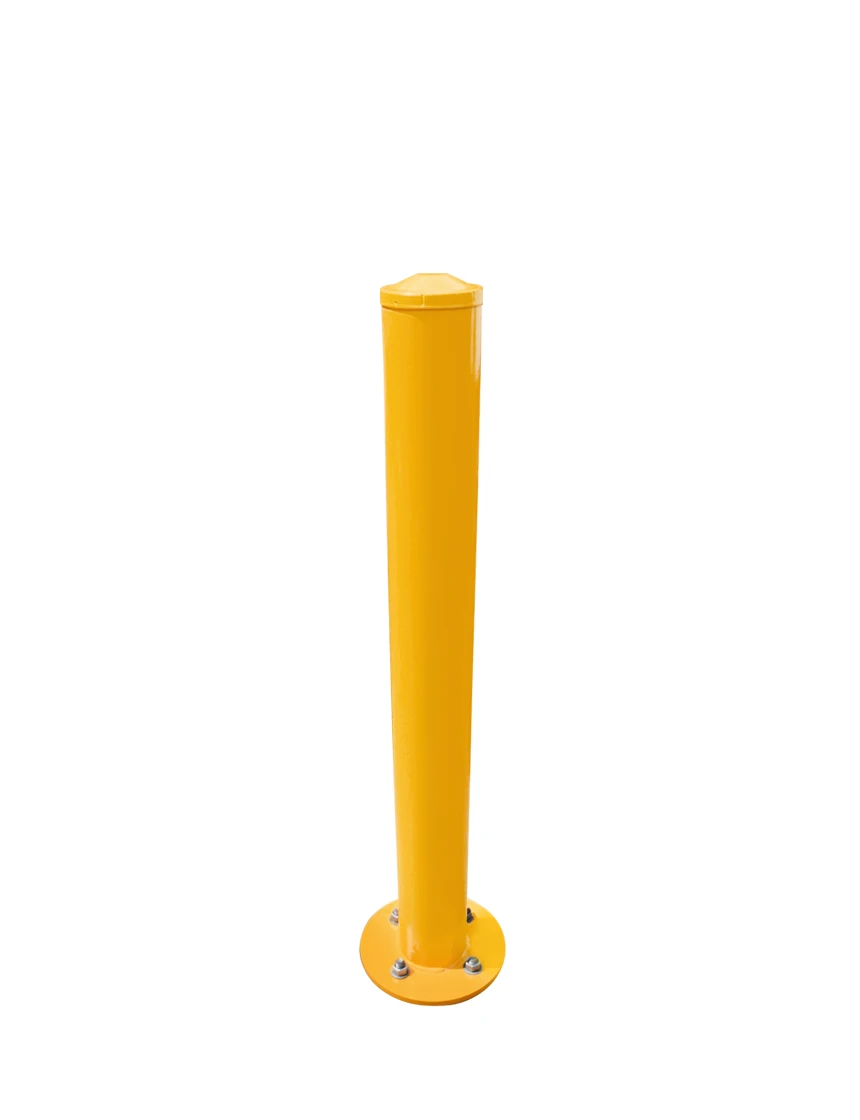
Yellow Steel Bollard, Powder Coated with Round Base
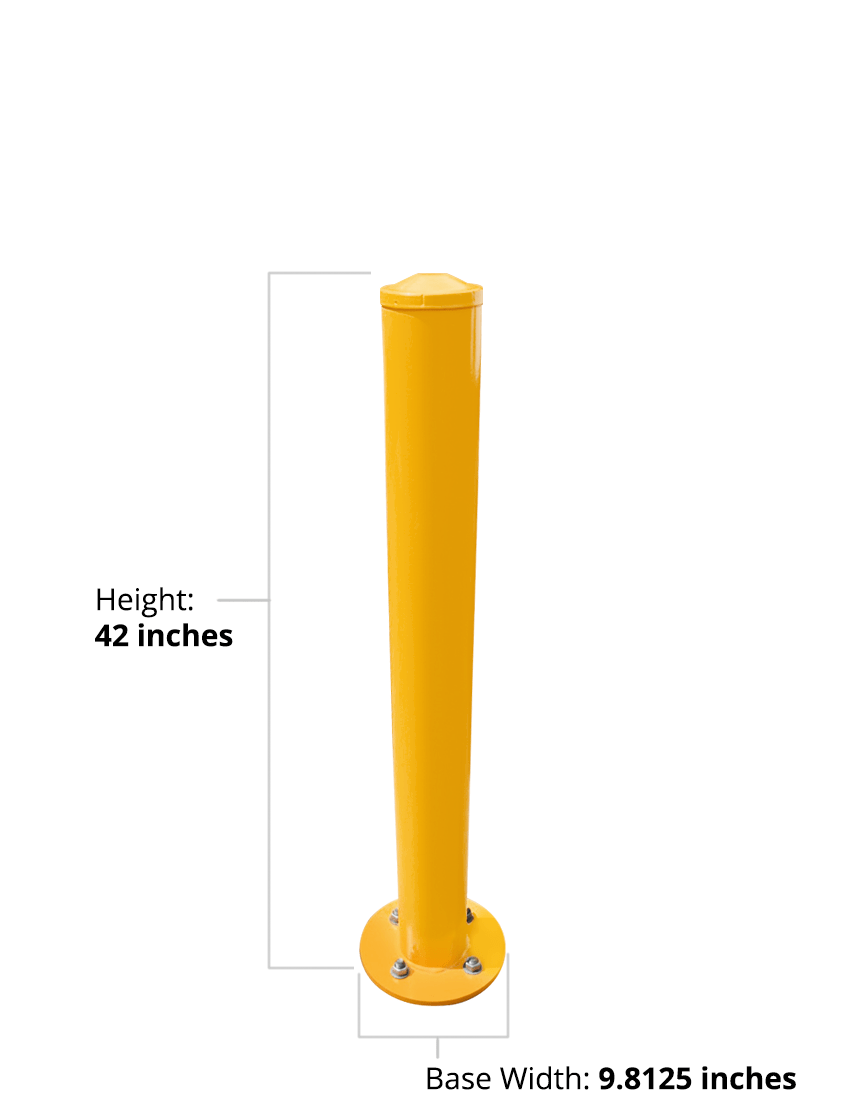
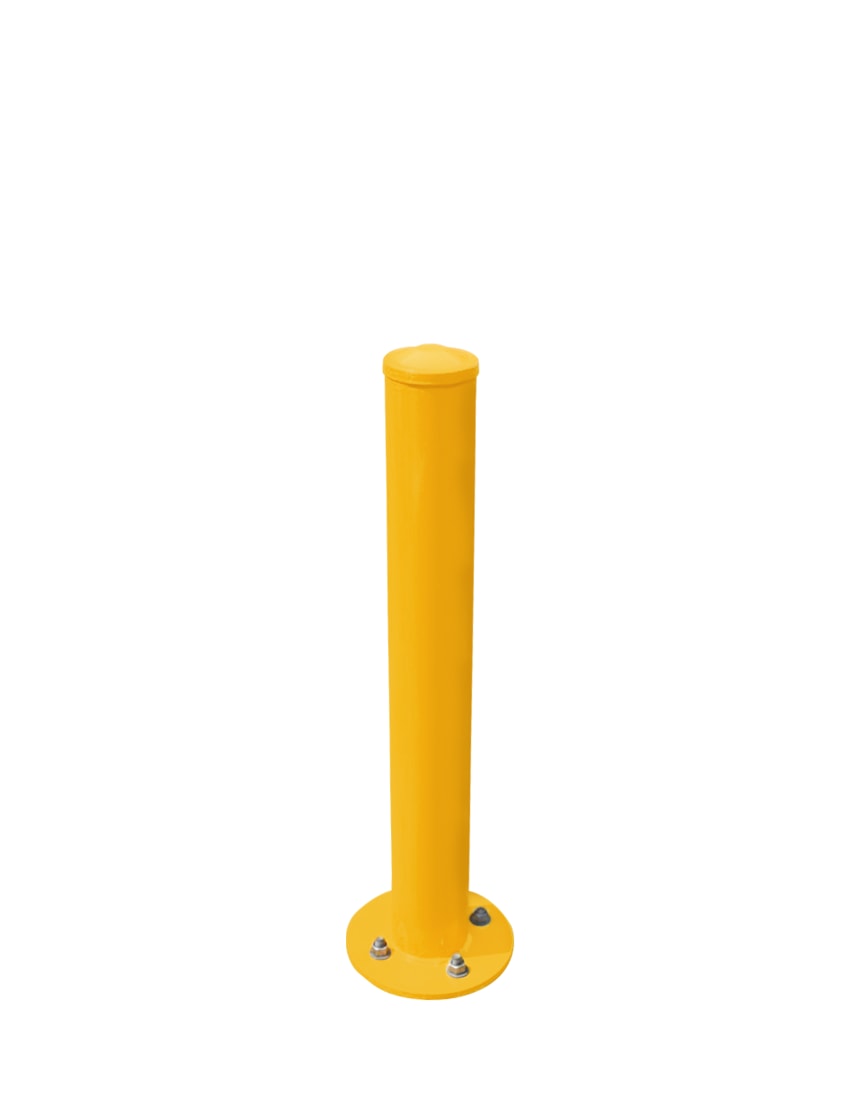
42" T X 4" Diameter, Yellow Powder Coated Steel, Round Base, Bolt-Down Bollard w/5" Lag Bolts
Item #:BOLPC42RND
- In Stock - Ships Tomorrow
- $162.10
Save
10%$145.75
Save
18%$133.35
Quantity
1-9Quantity
10-19Quantity
20+ Quick Facts:
- 4" Diameter, Schedule 40, Carbon Steel with High Viz Yellow Powder Coating
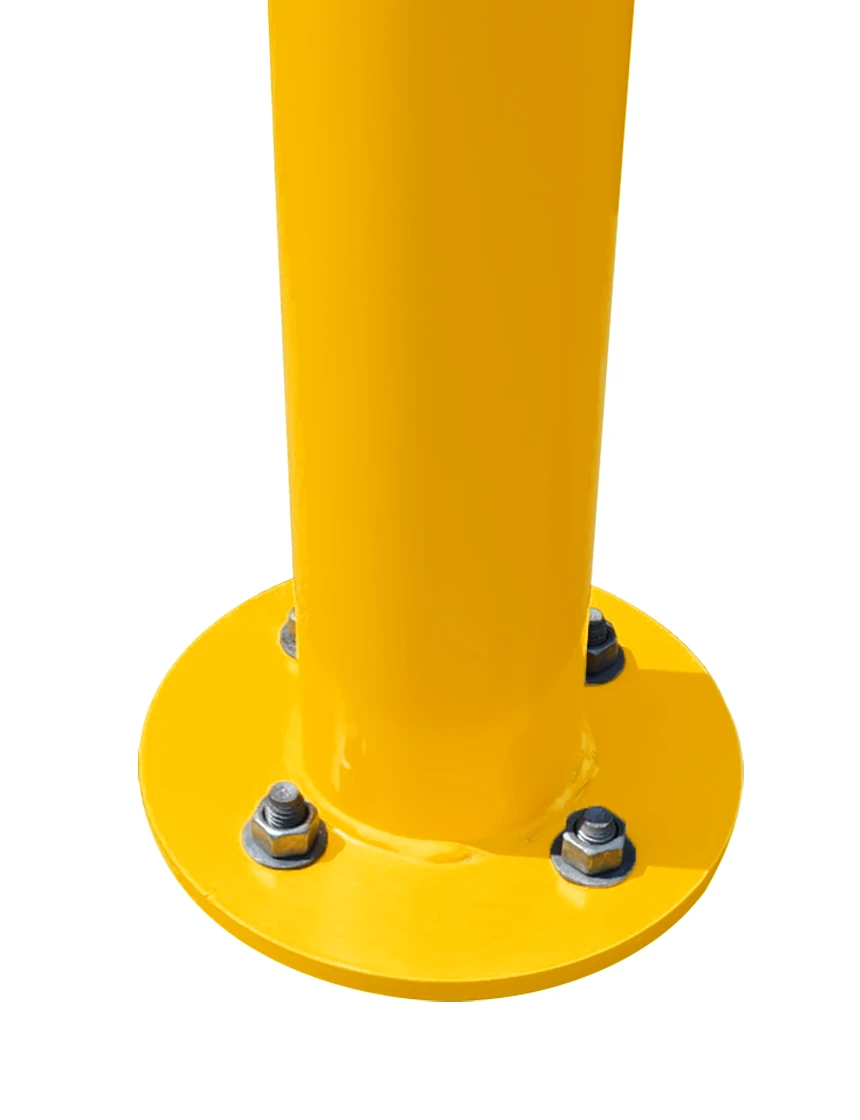
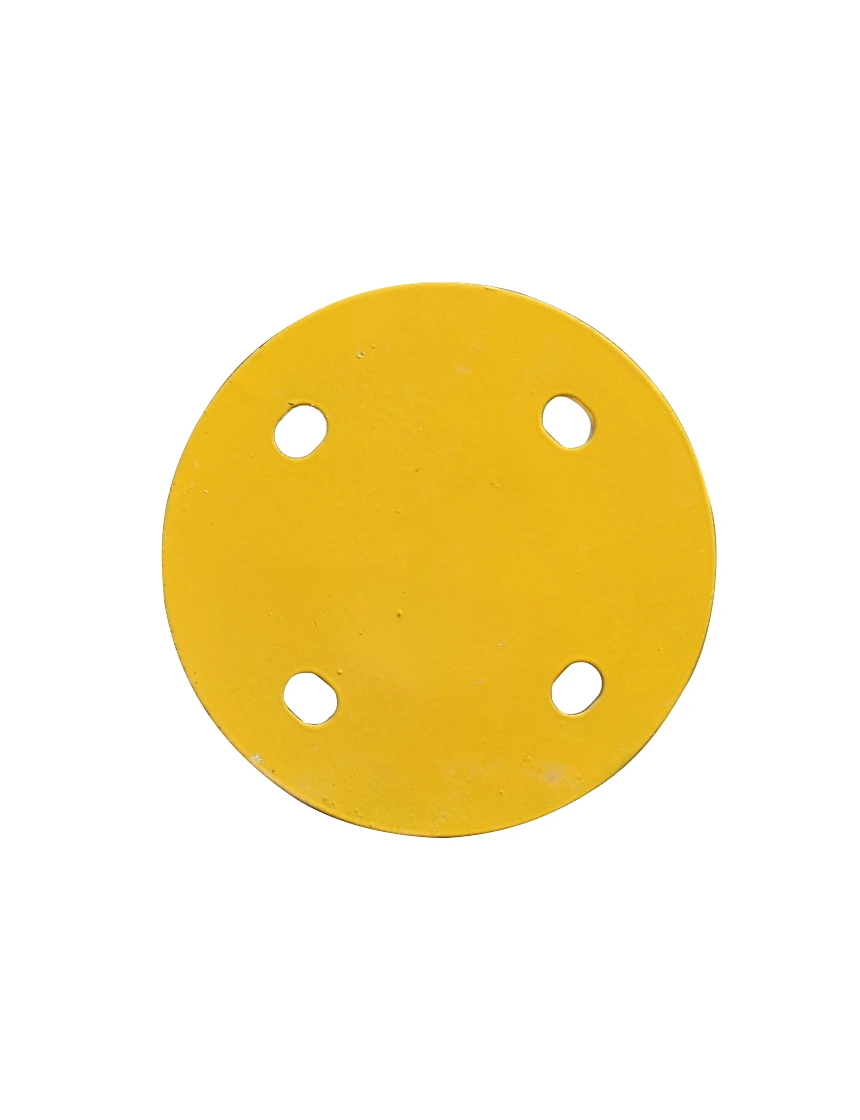
- The Round Base is 9 13/16" across, with a mounting hole formed into each corner
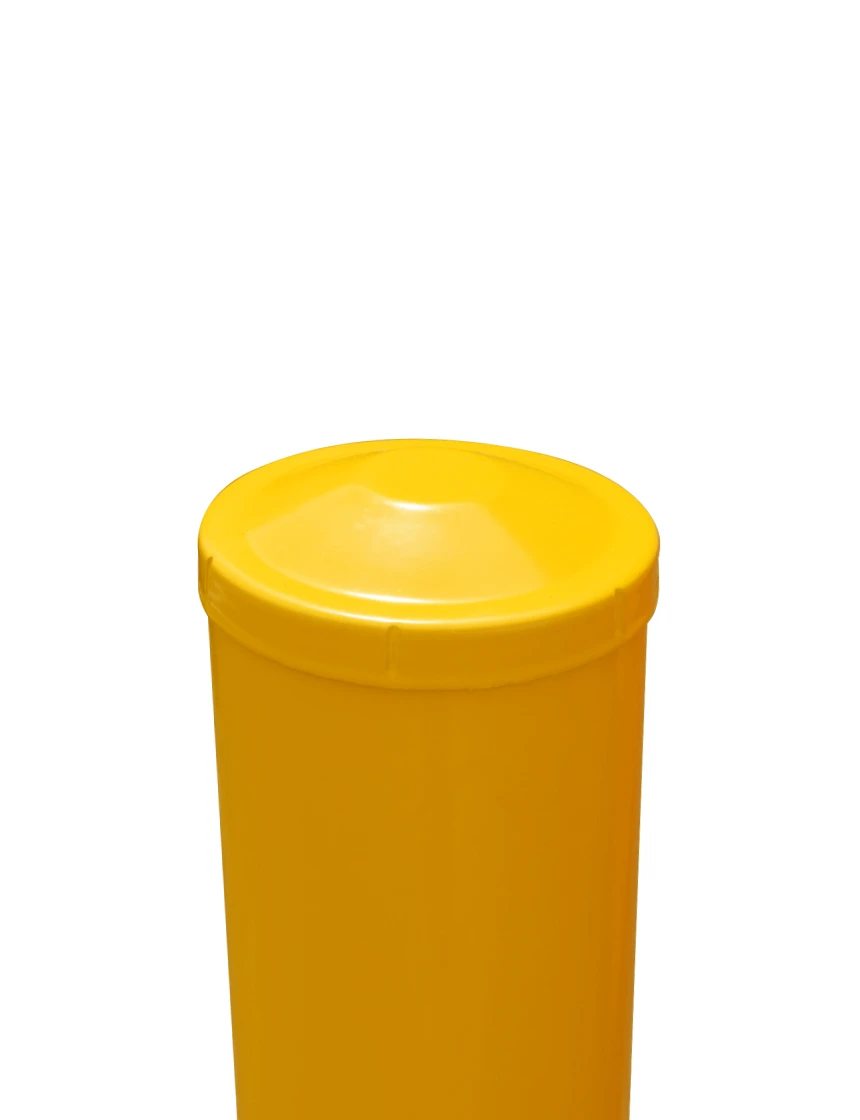
- Mounting Hardware (5" Lag Bolts & Anchors) and Steel Factory Installed Cap Included
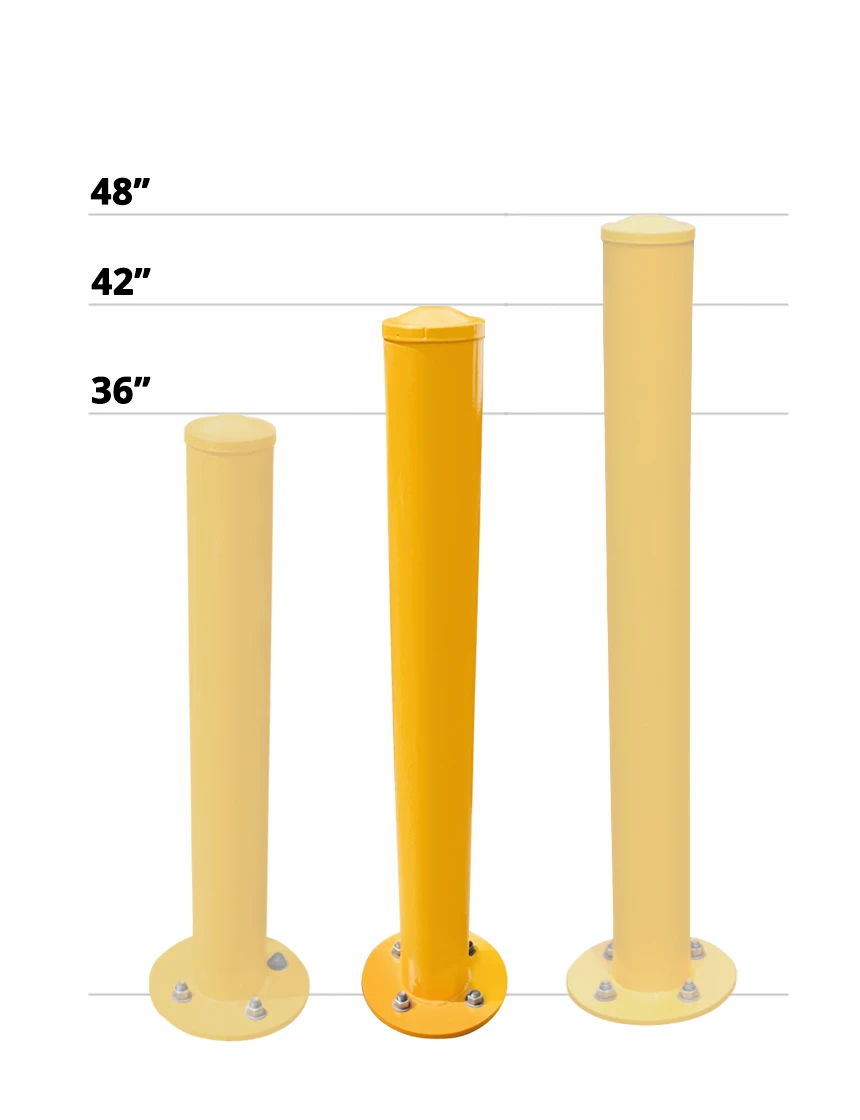
- Three (3) heights to choose from; 36", 42" & 48"
- In Stock - Ships Tomorrow
Volume Pricing:
Quantity
1-9Quantity
10-19Quantity
20+$162.10$145.75$133.35
Steel, "bolt down" bollards are the best way to protect your expensive loading dock doors, electric meters, generators, etc. from damaging hits from forklifts, pallet truck and even garbage trucks. Even the most careful employee will strike a door with a pallet if they go through loading dock doors often enough.
TrafficSafetyStore.com round base, "Bolt Down" bollards are made of high quality, schedule 40, carbon steel pipe, with welded bases that are then Powder Coated in High Visibility Yellow, and made to take the hits.
With three (3) heights (36", 42" and 48" tall), a steel cap installed at the factory, and three (3) styles of mounting hardware to choose from (included with the bollards), the TrafficSafetyStore.com can satisfy all your steel, "bolt down" bollard needs.
Bolt Bollard Installation Instructions
Tools Required
- Rotary Hammer/Impact Drill
- 1/2” x 5” or longer masonry drill bit
- Industrial vacuum (like a SHOP-VAC® ) or a leaf blower
- Socket Wrench Set or Torque Wrench for the wedge anchor installation
Installation Instructions (all sizes and hardware types)
- Select the location where you want to install the bollard.
- If installing a square base bollard, check the base for alignment with buildings, gas line, etc.. whatever you are trying to protect.
- Using a smaller masonry drill bit than the one necessary for the mounting holes, drill in the center of each mounting hole, making a mark on the concrete or pavement at the location of all four (4) mounting holes.
- Move the bollard and set it aside in a safe location, being careful not to erase the marks you made in the concrete or pavement.
- Using a drill bit stop, or adhesive tape, on the masonry drill bit, mark the drill bit to so that it drills a 4 1/2" deep hole.
- At each of the four (4) locations you marked on the concrete or pavement, drill a hole to correct depth for your mounting hardware.
- Using the industrial vacuum or leaf blower, remove all debris from each hole you drilled.
- Tap the four (4) anchor shields, one (1) into each hole you drilled. Tap the anchor shields down into the bottom of the hole.
- Reposition the Bolt Down Bollard so that the four (4) mounting holes line up vertically with each of the holes you drilled. Then follow the individual instructions for each of the three (3) mounting systems below:
- Place one (1) washer, included in the bag of hardware, on a 5” x ½” Lag Bolt and pass it thru a hole in the mounting base. Using a ¾” socket wrench, tighten the bolt until snug. DO NOT OVERTIGHTEN. Repeat for the other three (3) Lag Bolts, one (1) in each mounting hole.
- Once all four (4) Lag Bolts are snug, work your way around to each bolt, tightening it a little until the Bolt Down Bollard is firmly attached to the pavement or concrete. DO NOT OVERTIGHTEN, as this may damage the Lag Bolt and/or Shield Anchor. Your installation is now complete.
Customer Reviews (1)
![]() 1/5/2024
1/5/2024I really appreciate how prompt the service is from Traffic Safety Store. Also like the product quality. Thanks folks!
Harry Elder, Stoneboro PA


